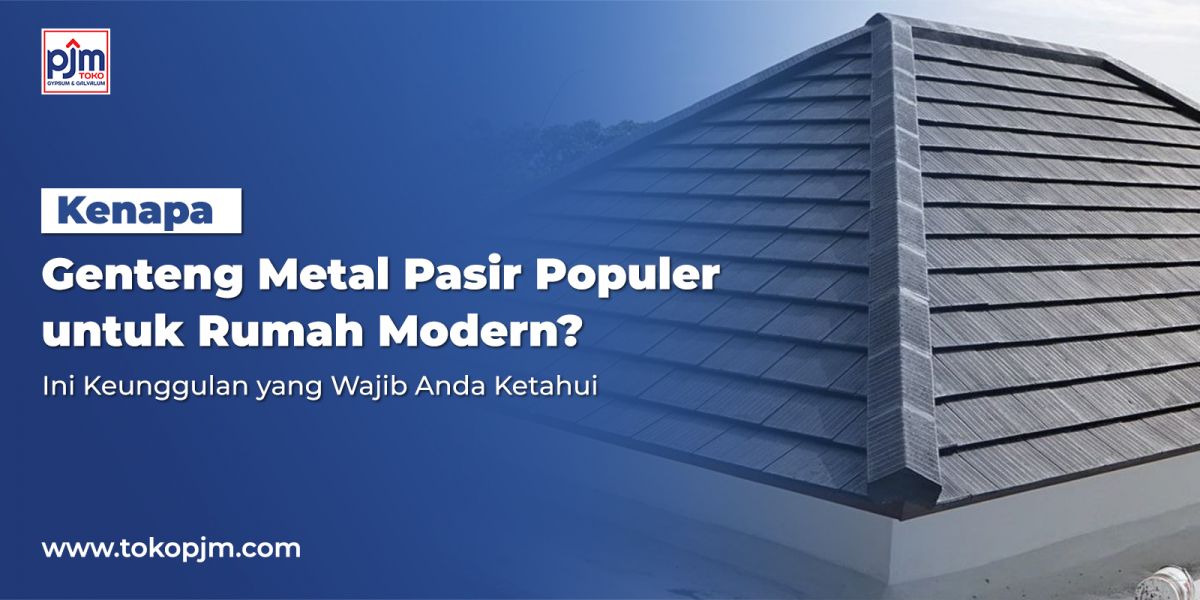
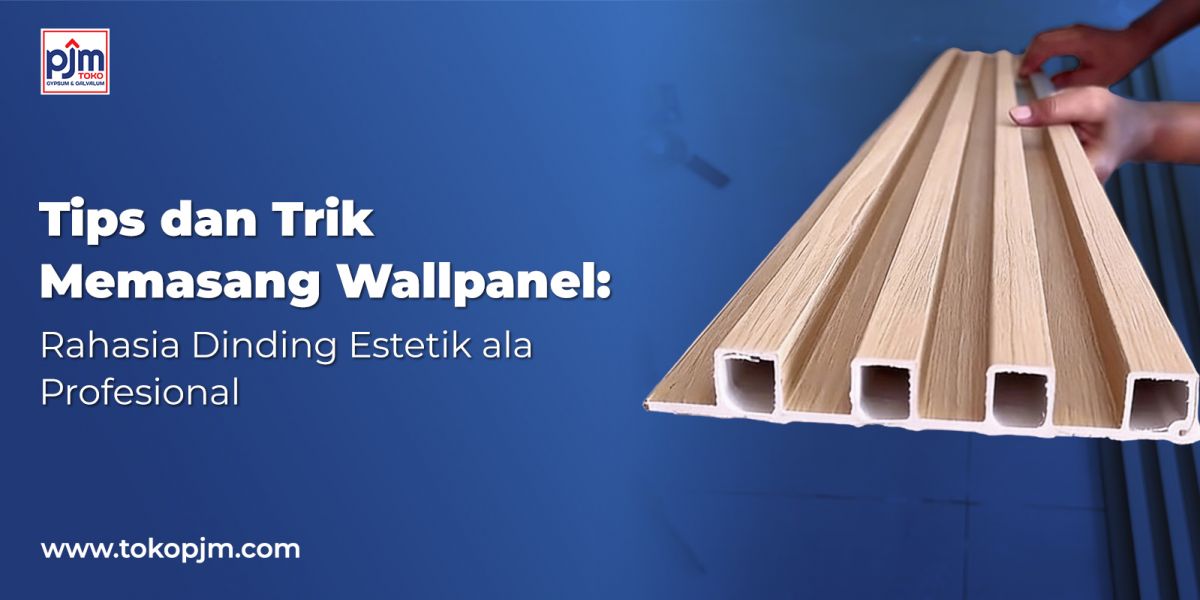
TIPS AND TRICKS FOR INSTALLING WALL PANELS: THE SECRET TO PROFESSIONAL AESTHETIC WALLS
19 January 2026
Interior wall panels have become a practical solution for beautifying home walls, covering cracks, and providing an instant luxury impression. However, improper installation can lead to messy results and panels that peel off easily.
Why Choose Wall Panels for Your Home?
Wall panels don’t just beautify a room; they also function as sound insulators, protect walls from moisture, and offer a more interesting texture compared to regular paint. Whether you choose PVC or WPC (Wood Plastic Composite) wall panels, the quality of installation remains the primary key to success.
Step-by-Step Guide: How to Install Wall Panels Correctly
To achieve a neat and durable result, you don’t need to be a construction expert. Simply follow these fundamental stages:
1. Surface Preparation This is the most crucial stage. Ensure the wall is:
- Level: Use a waterpass (spirit level) to check the alignment. Bumpy or slanted walls will make it difficult for panels to sit flush.
- Dry: Damp or wet walls will cause the adhesive's strength to drop drastically.
- Clean: Remove dust, oil, or peeling paint so the construction adhesive can bond optimally.
2. Measurement and Cutting Measure the wall area in detail (height x width). When cutting high-quality wall panel materials, use a fine-toothed hand saw or an electric cutting machine to ensure the edges are smooth and do not shatter, especially with PVC-based materials.
Tips and Tricks for Precision Results
To make your minimalist home look like it was handled by a professional contractor, apply these pro-level tricks:
- Use the Right Adhesive: Do not rely solely on nails, as they can damage the panel surface. Use high-bond construction adhesive applied in a zigzag pattern on the back of the panel.
- The "Invisible" Joint Technique: When installing wood-motif or linear panels, ensure the patterns connect perfectly. If using a tongue and groove (interlocking) system, make sure every connection has "clicked" securely before moving to the next panel.
- Mind the Corners: Room corners are rarely exactly 90 degrees. Use trims or L-profiles to cover corner gaps, ensuring a neat and elegant finish.
- Handle Switch Plates Carefully: Mark the position of light switches on the panel before sticking it. Use a drill or a sharp cutter to make holes slowly to avoid cracking the surrounding area.
Common Mistakes to Avoid
Many beginners make small mistakes that have a big impact on long-term aesthetics. Avoid these pitfalls:
- Ignoring the Waterpass: Installing panels by instinct often results in tilted rows. Always check the alignment every 2 or 3 panels.
- Too Much Glue on Edges: Glue overflowing from the joints is difficult to clean and can damage the motif layer of the panel.
- No Expansion Gaps: Materials based on plastic or wood can expand due to temperature changes. Leave a micro-gap (about 1–2mm) at the very bottom or top so the panels don’t warp during hot weather.
Choosing the Best Material for Perfect Results
A stunning and long-lasting result always begins with choosing the right materials. Selecting high-quality wall panels is not just about aesthetics, but also the ease of the installation process.
For maximum results, it is vital to choose material that is tested for quality and high precision. One highly recommended choice is Ottari Wallpanels. This product is widely known for its neat appearance, strong structure, and motif options that suit various interior concepts, from modern to classic styles.
The good news is that Ottari Wallpanels are currently in stock at Toko PJM. This makes it easy for you to get premium quality materials without the long wait of pre-ordering. With the support of materials from Toko PJM, your wall renovation project is guaranteed to be smoother, more durable, and highly aesthetic.