HOW TO APPLY GYPSUM COMPOUND FOR SEAMLESS JOINTS
10 November 2026
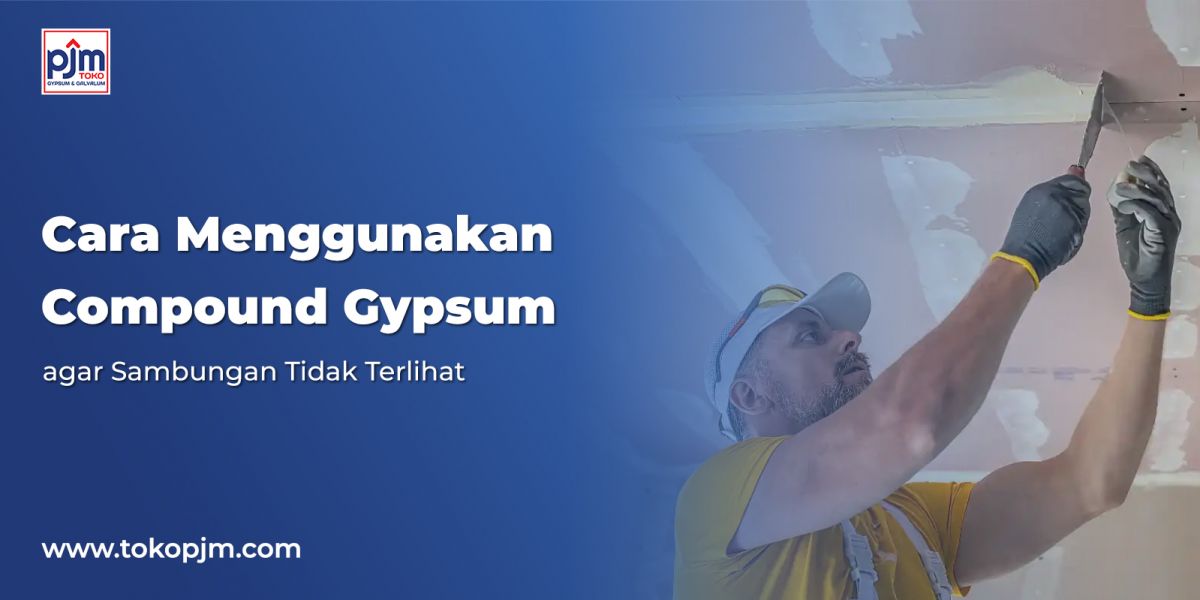
Have you ever noticed visible joint lines on a gypsum ceiling after painting? This problem often occurs due to improper finishing techniques. In fact, achieving a smooth and seamless ceiling surface depends greatly on the proper application of gypsum compound.
Gypsum compound, also known as joint compound, is a powdered material mixed with water to fill joints, cover screw holes, and smooth out gypsum board surfaces.
So, how do you apply it to make the joints less visible? Follow these steps!
1. Prepare the Gypsum Board Surface
Before applying the compound, make sure the gypsum boards are properly installed and the supporting frame is level and sturdy.
Clean the joint areas to remove dust and dirt so the compound can adhere properly.
Just like painting a wall, starting with a clean surface helps achieve a better finishing result.
2. Prepare the Gypsum Compound Mixture
Mix the compound powder with clean water according to the proportions specified on the product packaging.
Here are some important things to keep in mind:
- Use a clean container and mixing tools.
- Add the ingredients according to the manufacturer's instructions.
- Mix until the texture is smooth and free of lumps.
- Prepare only the amount needed to avoid unnecessary waste.
For example, Jayaboard UB20 recommends a mixing ratio of 1 part water to 2 parts compound powder. For Yoshino Compound Cornice 2 in 1, follow the mixing instructions provided on the packaging.
3. Apply Compound to the Joints
Use a putty knife to apply the compound along the gaps where two gypsum boards meet.
Make sure the compound fills the joints properly without leaving any gaps or voids.
Place gypsum joint tape over the wet compound, then smooth it down to remove air bubbles.
Joint tape helps reinforce the joint areas and reduce the risk of cracking.
4. Apply the Compound in Multiple Layers
Avoid applying the compound too thickly in a single coat. Instead, apply it gradually in multiple layers to achieve a smoother and more even finish.
- First coat: Fill the joints and embed the joint tape.
- Second coat: Widen the covered area and blend the joint edges into the surrounding surface.
- Additional coats: Apply if necessary to achieve a smoother finish.
Make sure each coat is completely dry before proceeding to the next step.
5. Sand and Finish the Surface
Once the compound is completely dry, gently sand the surface until it is level with the surrounding gypsum boards.
Wear a dust mask and ensure the work area is well-ventilated to reduce dust exposure.
Inspect the surface under adequate lighting. If any uneven areas remain, make the necessary corrections before painting.
Tips for Choosing the Right Gypsum Compound
Choosing the right product also plays an important role in achieving a quality finish.
Here are two options worth considering:
- Yoshino Compound Cornice 2 in 1: Used to fill gypsum board joints and as an adhesive for ceiling cornices.
- Jayaboard Compound: Available in several options, including UB20 for gypsum board joints and Jaya Cornice 5 in 1 for various finishing applications.
Conclusion
Properly applying gypsum compound requires surface preparation, accurate mixing, the use of joint tape, gradual layering, and careful sanding.
With the right techniques and quality materials, gypsum joints can achieve a smoother, more seamless appearance, creating a neater finish for ceilings and partitions.
Looking for Yoshino or Jayaboard gypsum compound? Visit Toko PJM to explore available products and consult with the Toko PJM team about your gypsum finishing material needs!