LIGHTWEIGHT BRICKS FOR ROOM PARTITIONS
28 January 2026
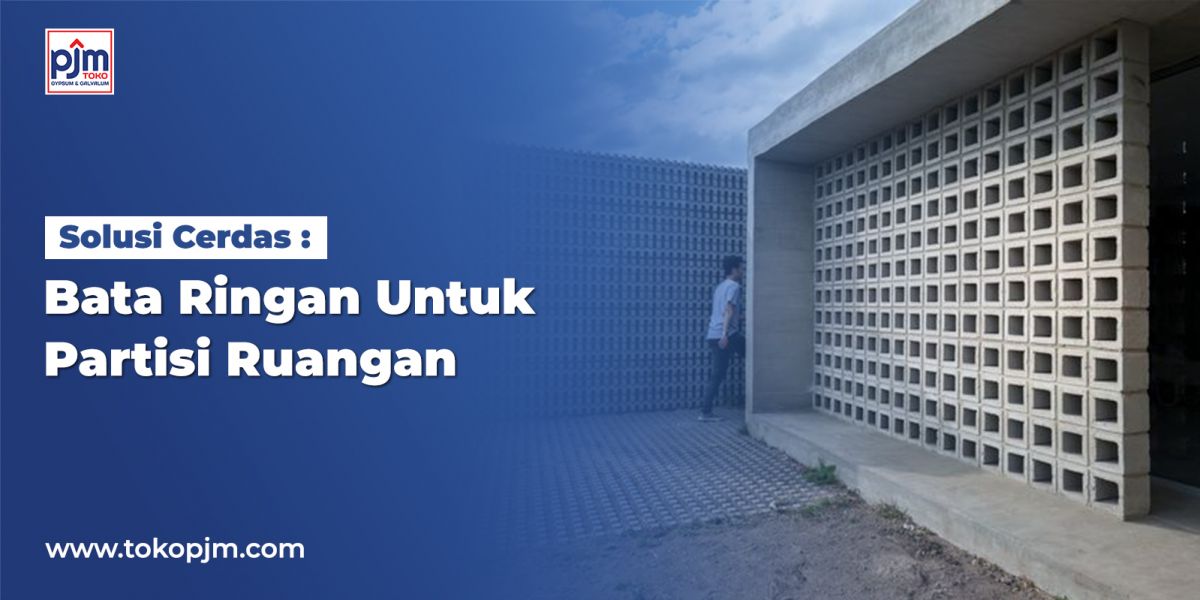
Having a home with an open-space concept certainly gives a spacious and airy feel. However, there are times when we need more privacy or want to divide room functions—for example, separating the living room from the family room, or creating a workspace inside a bedroom.
If you’re looking for a solution that is efficient, sturdy, and still budget-friendly, building room partitions with lightweight bricks is the answer. Why choose lightweight bricks? And how do you install them neatly like a professional builder? Let’s take a look at the complete guide below!
Why Choose Lightweight Brick Partitions for Your Home?
In the past, red bricks were the only option for permanent partitions. Today, modern partition trends have shifted toward more practical materials. Here are some key advantages of lightweight bricks:
- Very Lightweight: As the name suggests, lightweight bricks (Hebel) do not put excessive load on floor structures. This is especially important for multi-story houses.
- Fast & Precise Installation: Their larger and uniform size makes the partition installation process much faster compared to conventional bricks.
- Sound & Heat Insulation: Lightweight bricks contain air pores that act as natural insulation, keeping rooms quieter and cooler.
- Cost-Effective: Although the unit price may seem higher, you save significantly on mortar (adhesive) and labor costs due to faster installation.
Practical Steps to Build Room Partitions with Lightweight Bricks
For those who want to try installing it themselves or supervise builders for the best results, here are the steps to pay attention to:
1. Planning and Measurement
Determine where the lightweight brick partition will stand. Use a string line or a spirit level to ensure straight lines on the floor, walls, and ceiling. Mistakes at this stage can result in a crooked wall.
2. Preparing Materials and Tools
Prepare the main materials, easily found at PJM Store:
- Lightweight bricks (Hebel)
- Special mortar cement (thin bed)
- Water
- Tools: trowel, rubber mallet, lightweight brick saw, and bucket
3. Installation Process
- Clean the floor area from dust.
- Apply mortar to the bottom of the first brick. Ensure the first row is perfectly level.
- Continue stacking the bricks upward in a staggered pattern (like red brick patterns) for structural strength.
- Use a rubber mallet to level each brick so it adheres perfectly to the adhesive.
4. Aesthetic Finishing
Once the lightweight brick wall is standing, plastering is needed to smooth the surface before painting. However, if you want a faster and more modern result, there’s a secret trick often used by today’s interior designers.
Kalsiboard: The Perfect Partner for Modern Partitions
Plastering lightweight brick walls can take quite a long time to dry. As an alternative or advanced finishing layer, you can use Kalsiboard partitions.
Why combine lightweight bricks with Kalsiboard?
- Ultra-Smooth Surface: Kalsiboard provides a perfectly flat finish without repeated sanding.
- Moisture-Resistant: Unlike plywood, Kalsiboard resists mold and water, making it a durable long-term choice.
- Design Flexibility: Kalsiboard can be used as a wall covering for lightweight bricks to achieve a clean, minimalist look.
In fact, for areas that don’t require heavy load-bearing strength, many people now fully switch to drywall systems using Kalsiboard because the process is much cleaner and “dry,” without cement mixing inside the house.